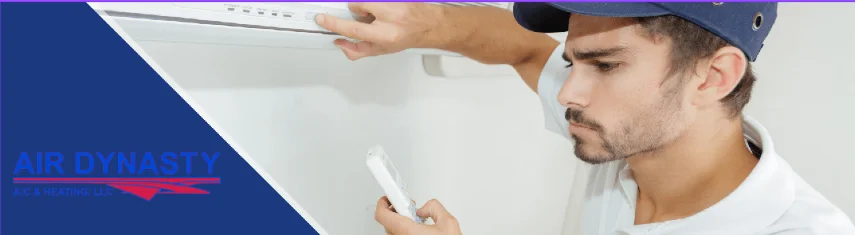
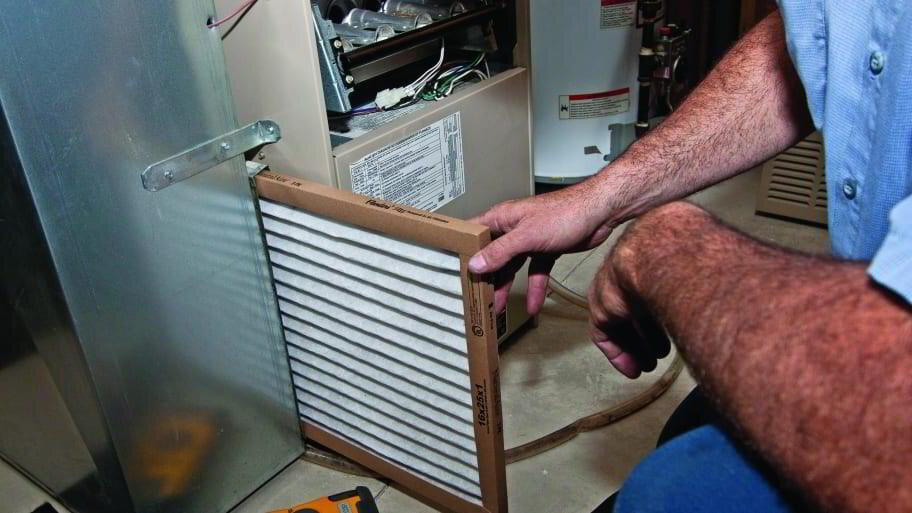
1. Clean Your Ducts, Vents, and Filters
When it comes to heat transfer having proper airflow is critical. You should be cleaning your vents and replacing your filters at least twice a year, but it becomes even more critical during the winter when you run your HVAC system more regularly.
Now, if you’re looking for immaculate air, then you have an enormous variety of filters and air cleaning systems to choose from.
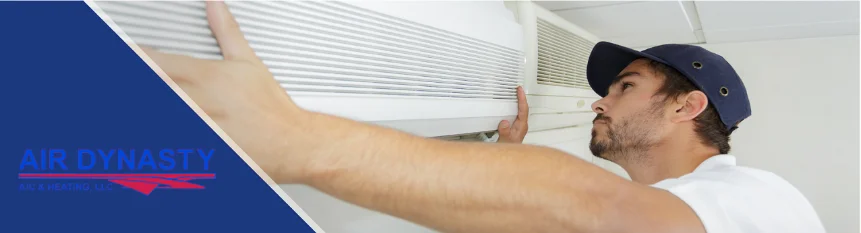
Cleaning your ducts and vents is an involved process. You’ll need your vacuum cleaner and hose (ideally a shop-vac) as well as a brush, microfiber cloths, and a screwdriver to remove the vents.
To get started, you’ll want to cover your registers with paper towels or cleaning cloths. The dust blows out of your registers, and it will otherwise end up in your home. Then, switch off the heat supply but not the power because you will use the fan to blow dust out of the furnace and vents and into your supply register.
Turn off the fan and use your vacuum (or a brush) to remove the debris from your supply registers. If you don’t have a long hose attachment, get a long broom to reach into the piping system.
Then, you can remove the air registers and remove the dust from these, too.
From here, you can start to get into your main ducts. Turn off the fan and the total power supply to your system. You’ll need a heavy-duty vacuum cleaner (a shop-vac) to get this done – your home vacuum won’t be powerful enough.
This is perhaps the most complicated and messiest part of the process, so you might find professional help is beneficial.
Once everything is tidy, you can replace your filter with a clean one. You’re now also ready to clean the other components of your heating system.
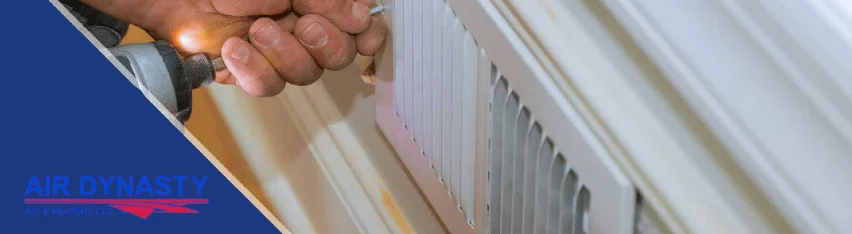
Sealing windows can stop drafts coming from windows
2. Feeling a bit Drafty in here?
Mostly found in older home there may be many drafty areas. Do check around your home for drafty areas and do your best to seal up the drafts. Leaking heated air is like throwing cash in the trash. If you have broken windows or old doors, now might be the time to fix them. Check places these below.
- Knee walls (side walls that support attic rafters)
- Attic hatch/opening
- Wiring holes (cable TV, electrical outlets, phone lines)
- Plumbing vents
- Recessed lights and the soffit around these lights
- Furnace flues or ducts
- Basement rim joists (the meeting point of the foundation and wood framing)
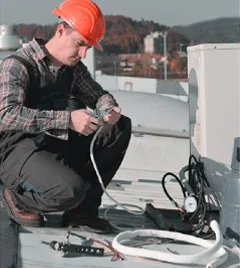
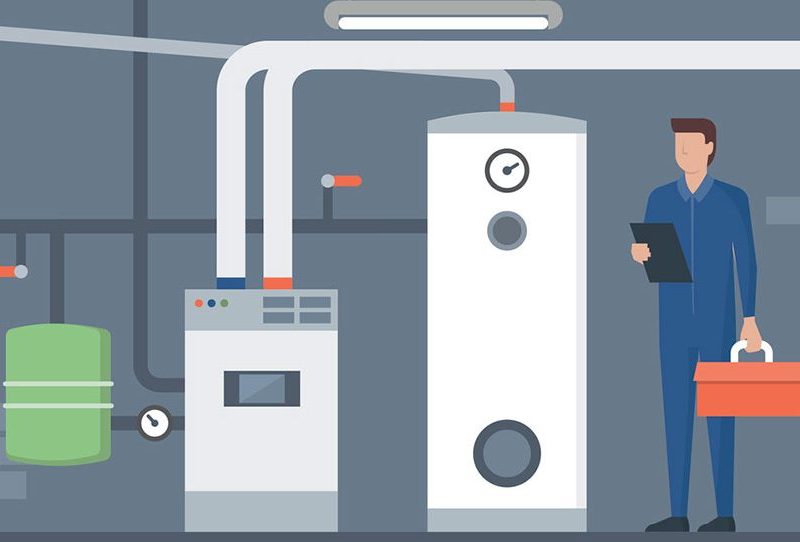
3. Clean Furnace Heat Exchanger

Instructions for Furnace Heat exchanger
Your blower motor circulates the air into the vents, and dust can stop it from working efficiently. Clean both your blower motor and heat exchanger simultaneously (system needs to completely off).
To clean the blower, remove the blower door. You may also need to remove the blower switch. Then, remove the fan from the cabinet but watch both your fingers and the wiring. You don’t want to damage the wiring on the cabinet edges.
Grab a vacuum hose to clean the cabinet and then use either a toothbrush or a paintbrush on the blower wheel and motor.
After cleaning the blower motor, you may want to lubricate it. To see if your furnace requires this step, check your owner’s manual.
Then, clean the caps on the blower bearings before removing the bearings to lubricate them.
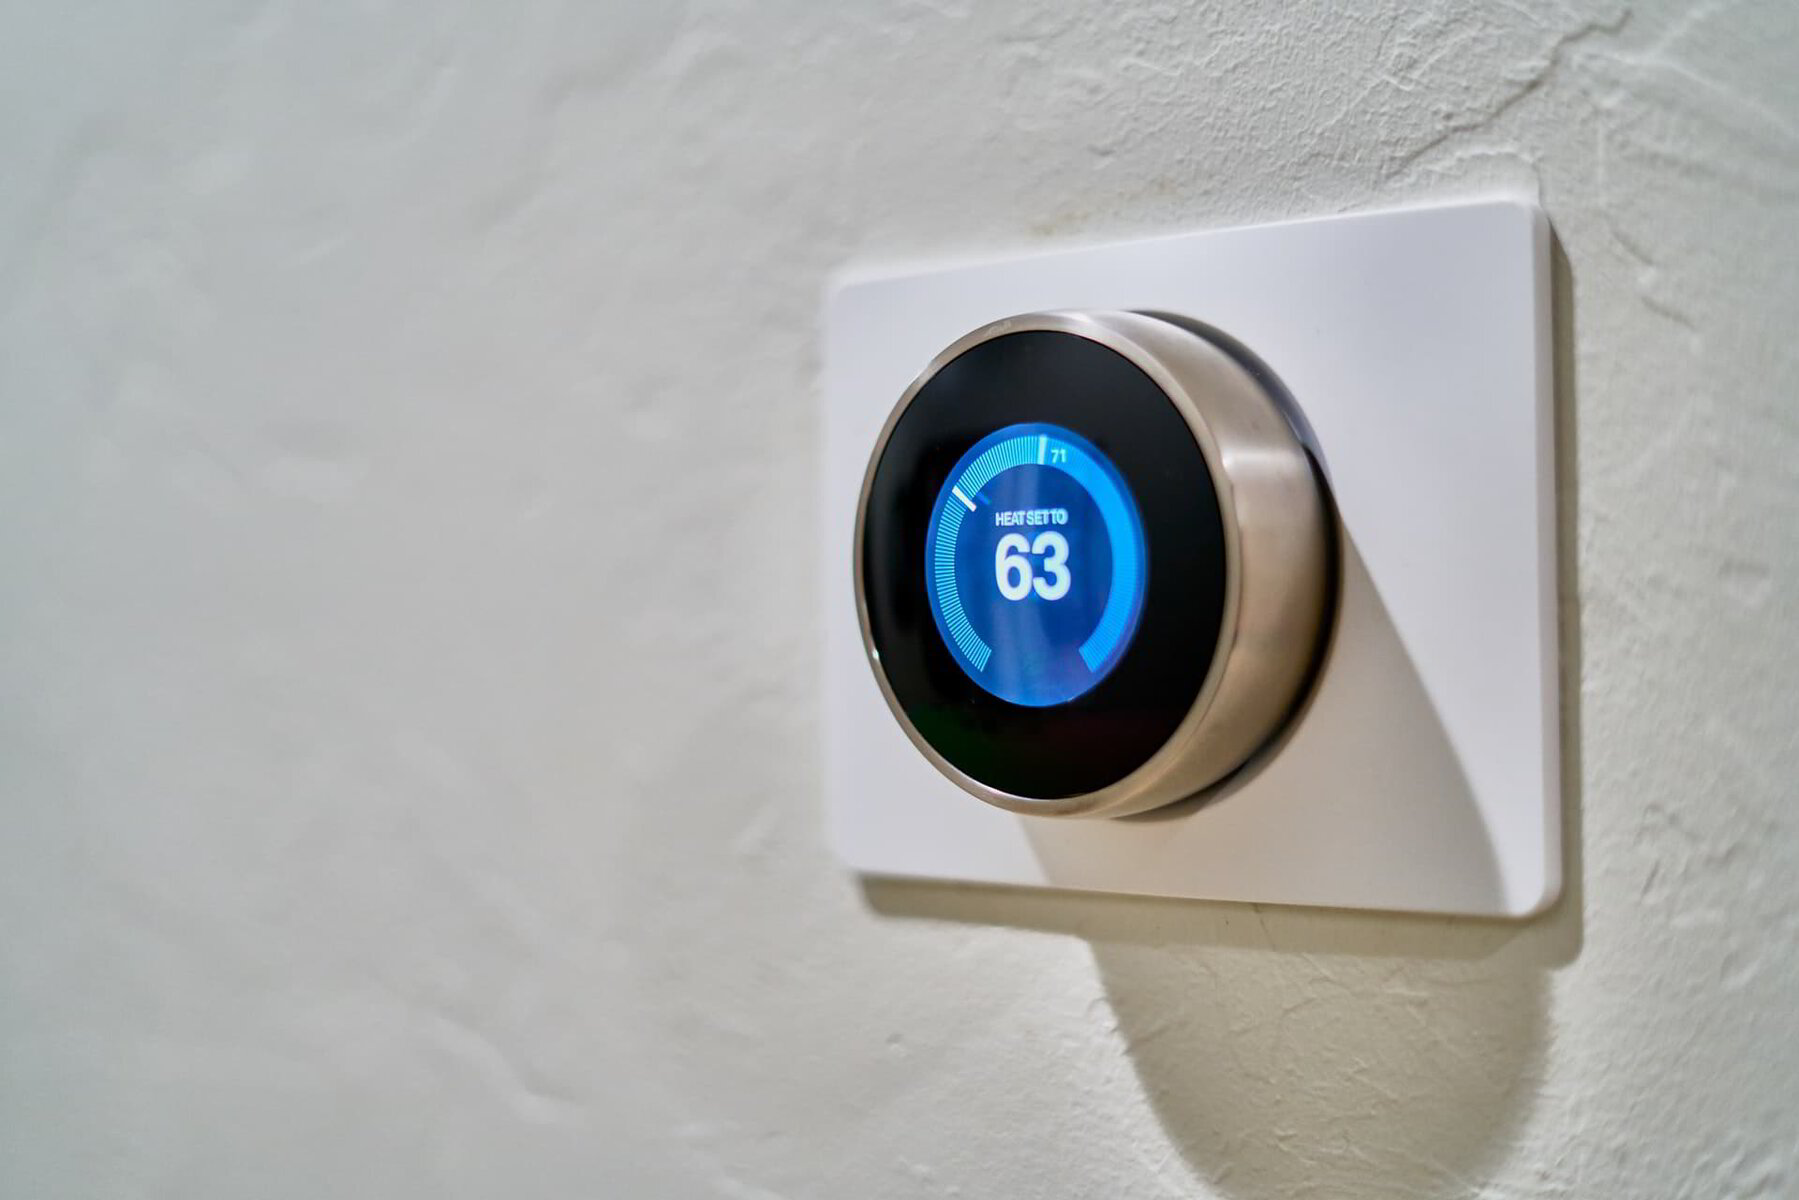
Smart thermostat calibration
No need for heating contractor and paying them $150 to turn your thermostat to heating… it happens more than you think, so check your t-stat and make sure it’s set right. Check if your thermostat even functioning. Now is the time to find out.
Once you vacuum out your furnace and replace all the parts, switch it back on (and restore the gas if necessary). Head over to your thermostat and turn up the temperature.
A functioning thermostat will turn the heat on in about a minute. If you don’t hear the furnace start-up, then you could have a problem with the thermostat itself.
Start by removing the cover and checking your connections. The wire connections should all be in place.
If the wires look fine, double-check that you switched on the power source after cleaning.
If it still doesn’t work, then you need an HVAC professional. The culprit could be one of many parts, including your blower, heat pump, or furnace fan. it could also be a faulty thermostat. A professional can test each part and find the culprit.
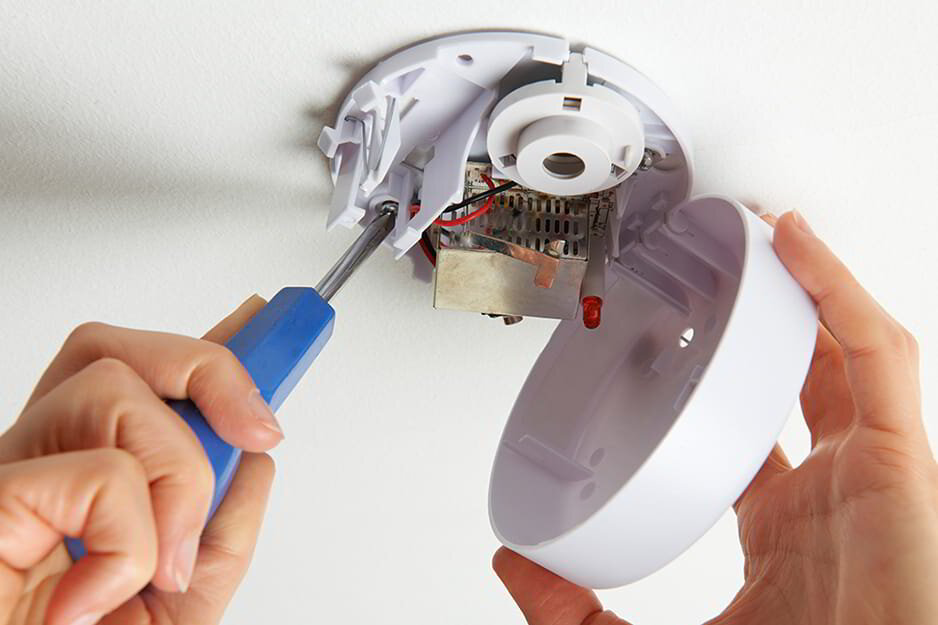
Change out your smoke detector batteries as part of your furnace maintenance schedule.